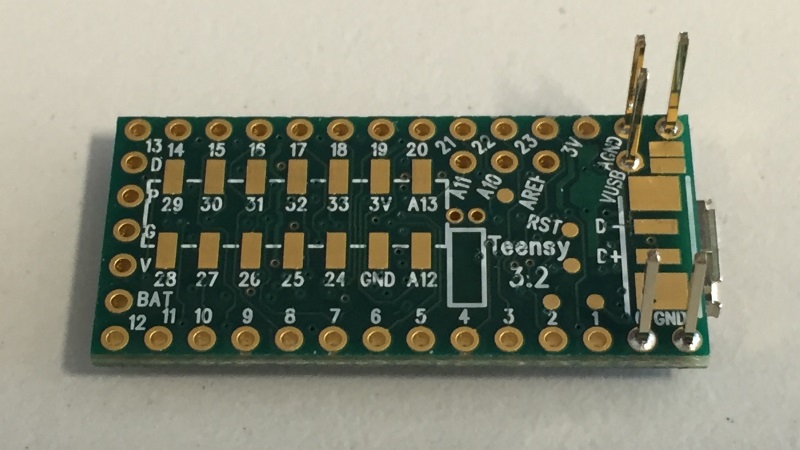
Teensy 3.2 USB Type B Edit
This is a simple breakout that utilises the new USB data pads on the bottom of the Teensy 3.2. This allows for easy panel mounted USB B connection.
Firstly; order the PCBs from OSH Park.
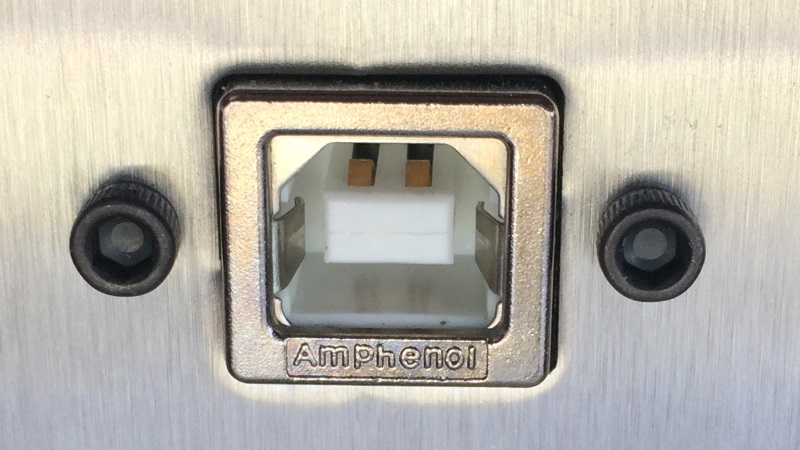
Secondly; order the USB B connector.
- Manufacturer: Amphenol
- Part Number: MUSBD51100
Assembly
Step 1

- Break some pin strip into 2/2/1 position pieces.
- Solder the small bits of pin strips to the Teensy 3.2 in the holes that the USB PCB will be attached to.
Tip: Use the PCB as a tool for spacing the pins correctly.
Tip: Use pin strip at the other end to support the Teensy.
Step 2
- Remove the black plastic spacer pieces from the pin strips.
Step 3
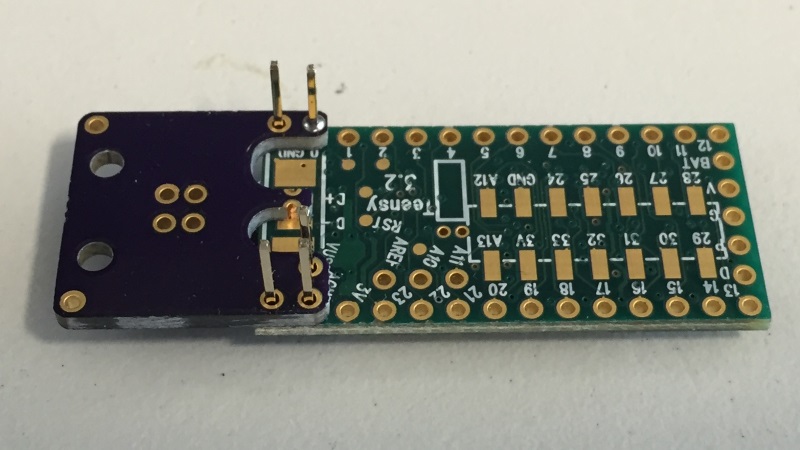
- Place the PCB into position.
- Solder 1 pin only.
- Pick up assembly, apply pressure to the PCB and heat up the solder joint to make small adjustments of the PCB position. The aim is to get the PCB to sit perfectly flat on the bottom of the Teensy to eliminate any gaps.
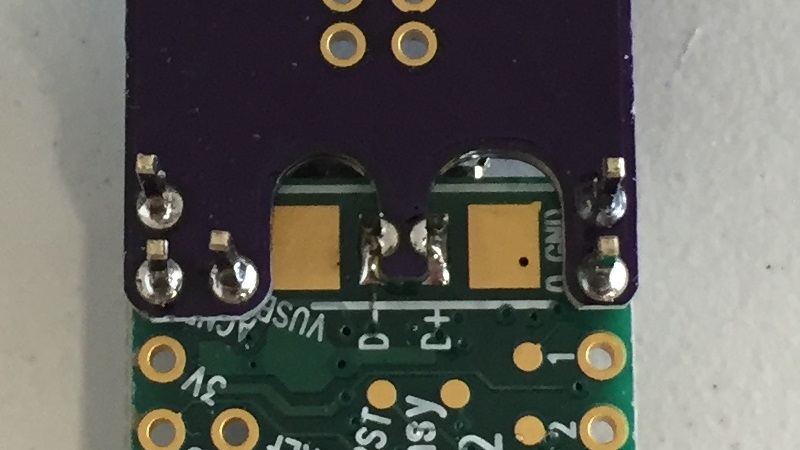
Step 4
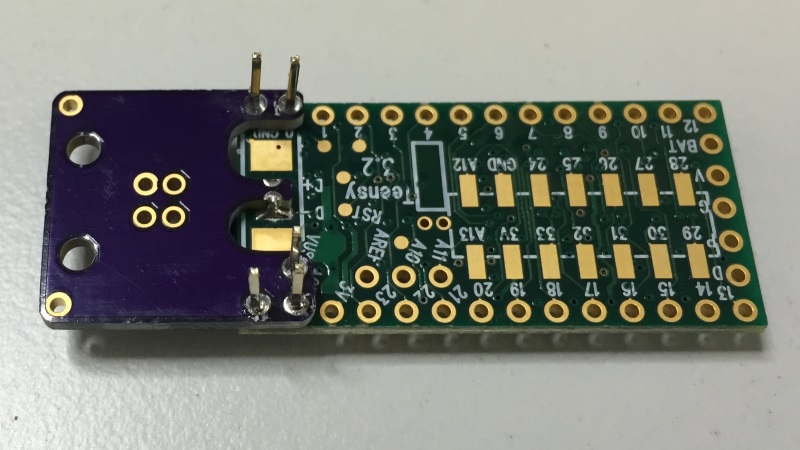
- Solder the other 4 pins.
- Carefully solder the 2 surface mount pins.
Tip: Apply liquid flux with a flux pen on the surface mount pads to make the solder flow better.
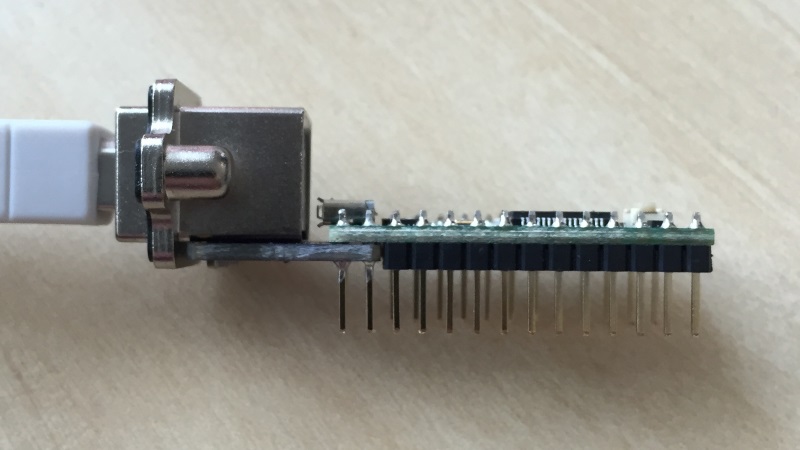
Recommended: Cut the VUSB pin flush to the PCB to allow the final assembly to fit into a breadboard without shorting out the USB.
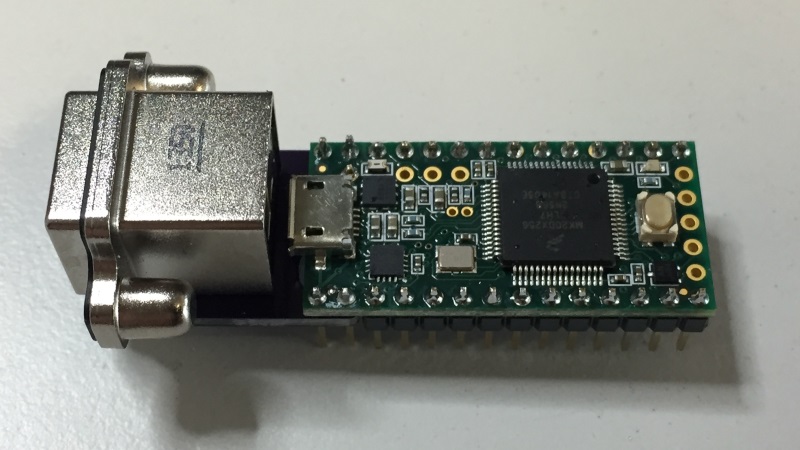
The result should look similar to:
Step 5
- Solder the rest of the pins onto the Teensy.
Tip: If the pin strip doesn’t quite fit alongside the PCB, file down the end slightly.
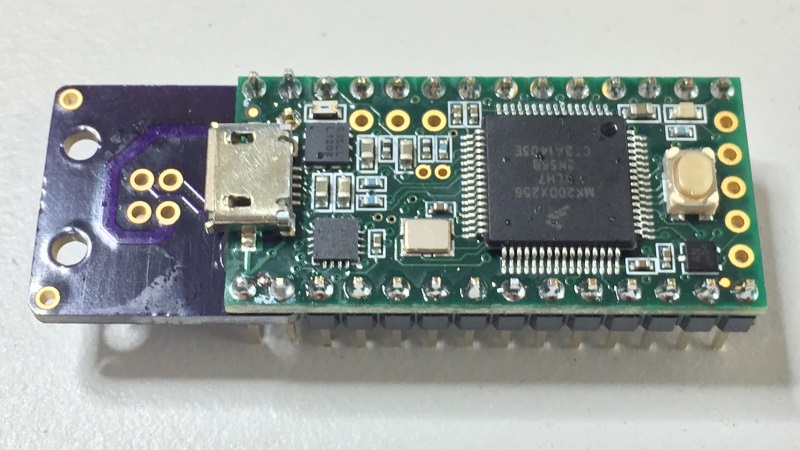
Step 6
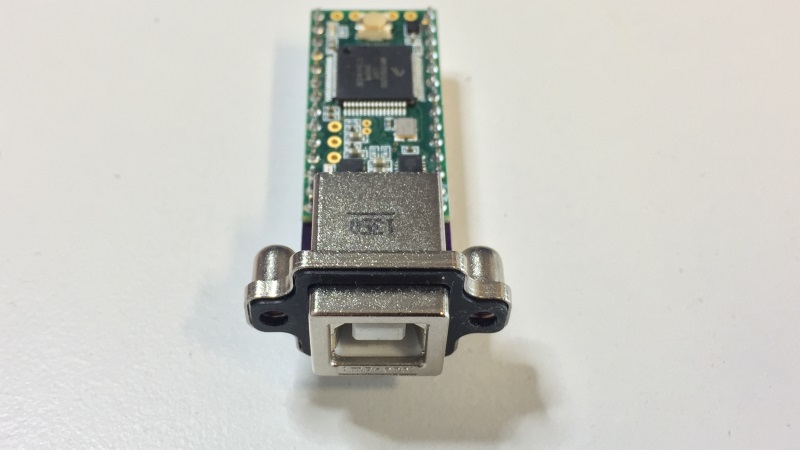
- Solder the USB connector into the PCB.
Result